
Craving more recipe inspo? Follow me on Pinterest for fresh ideas daily
Biscoff Cheesecake
It’s funny, right, how one simple dessert can bring back a whole day full of memories and laughs. Last weekend we went on a small family trip, and honestly, everything was a bit chaotic but in a fun way because the kids were running everywhere and bags were half-packed, and me forgetting something as always, so typical me.
Then somehow we ended up making this Biscoff cheesecake together, and I’m not even joking, the first try didn’t go perfectly because the crust was too soft, but we just laughed and kept going, and that’s what made it special. Have you ever had those moments where things are not perfect but still feel amazing? Well, this was one of them.
And when we finally tasted it, wow, I was actually surprised because it turned out so creamy and so good, and everyone kept asking for more. So if you want something easy and full of good vibes, you’re definitely in the right place.
Table of Contents
🍰 Biscoff Cheesecake {5 Ingredients!}
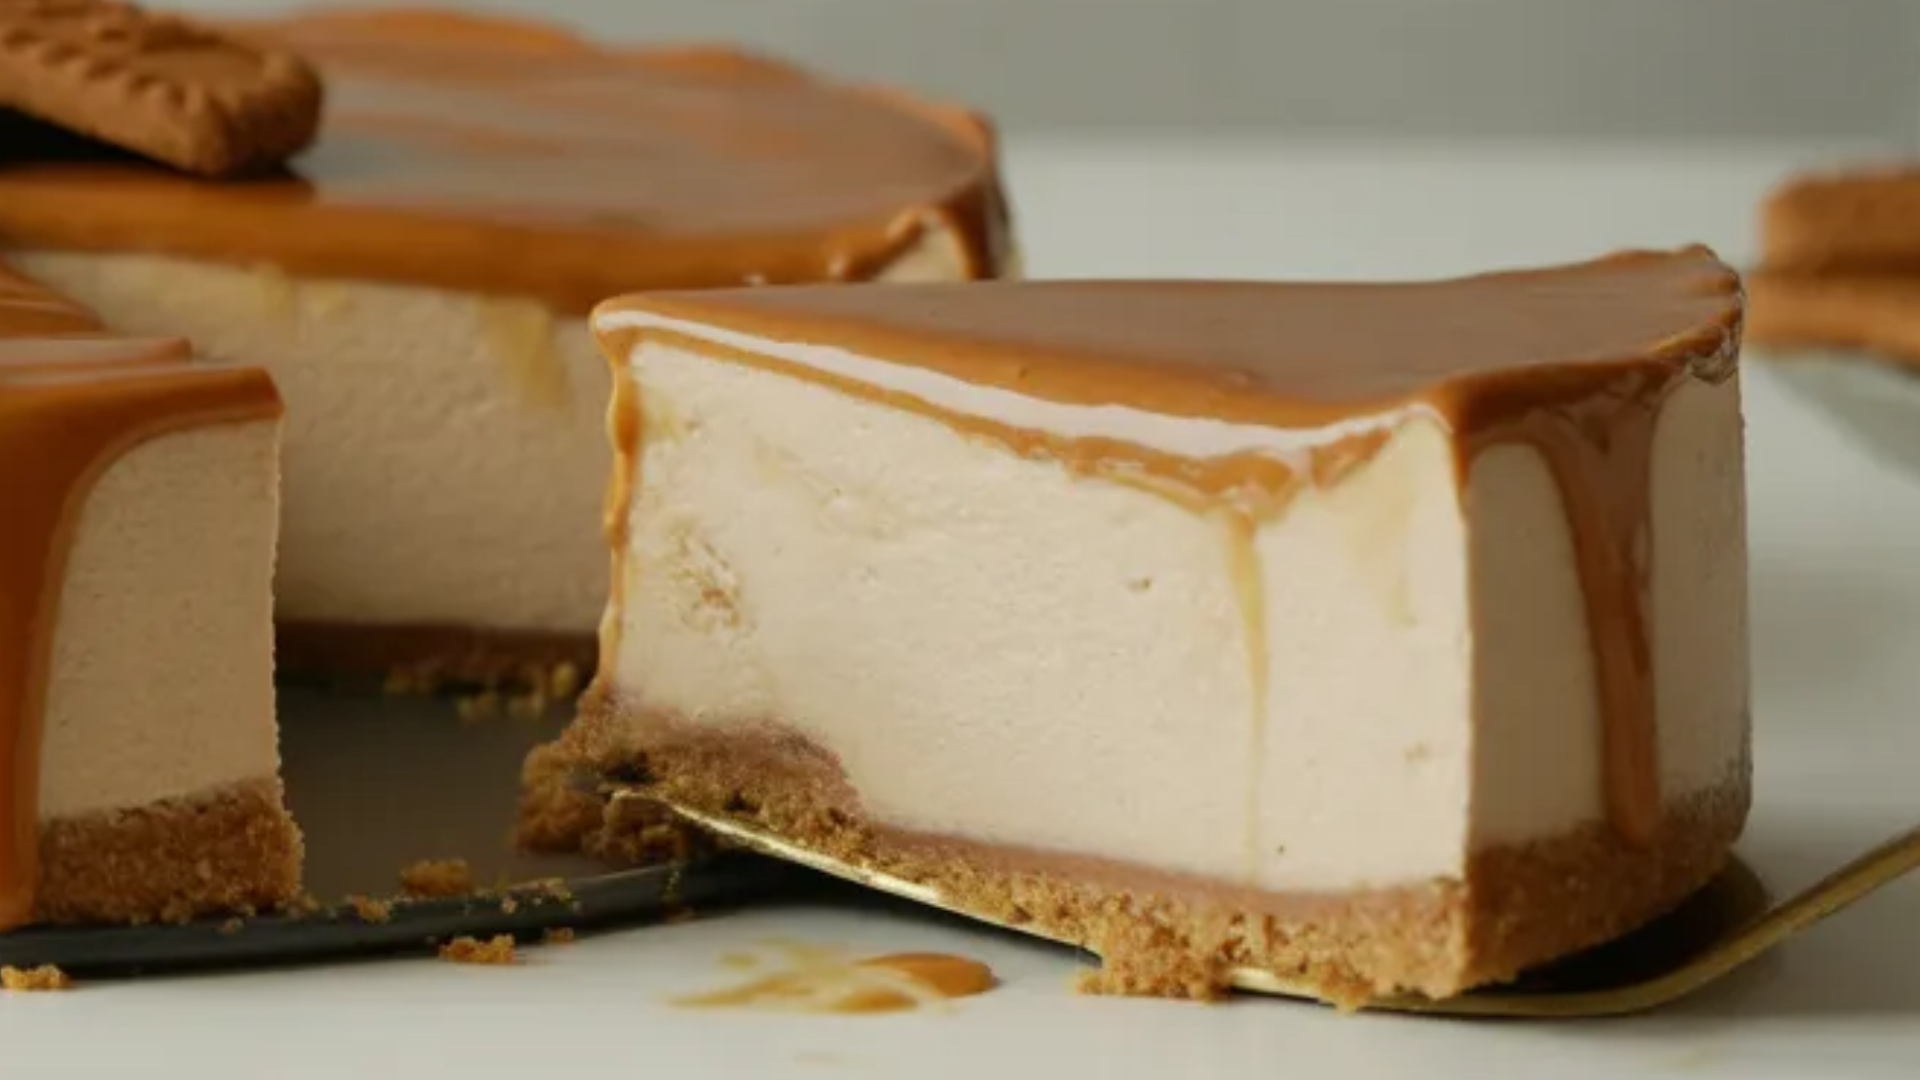
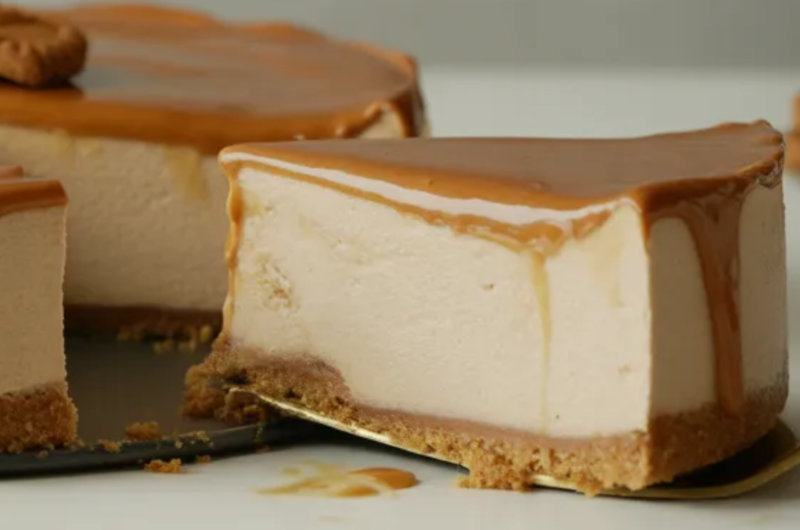
Biscoff Cheesecake is a creamy, rich, and super indulgent dessert made with only 5 simple ingredients. The magic ingredient here is Biscoff spread, a smooth cookie butter with a caramel-like flavor that melts in your mouth. The best part? This recipe is completely no-bake, so you don’t even need an oven. It’s perfect for beginners, busy moms, or even kids who want to try making dessert for the first time.
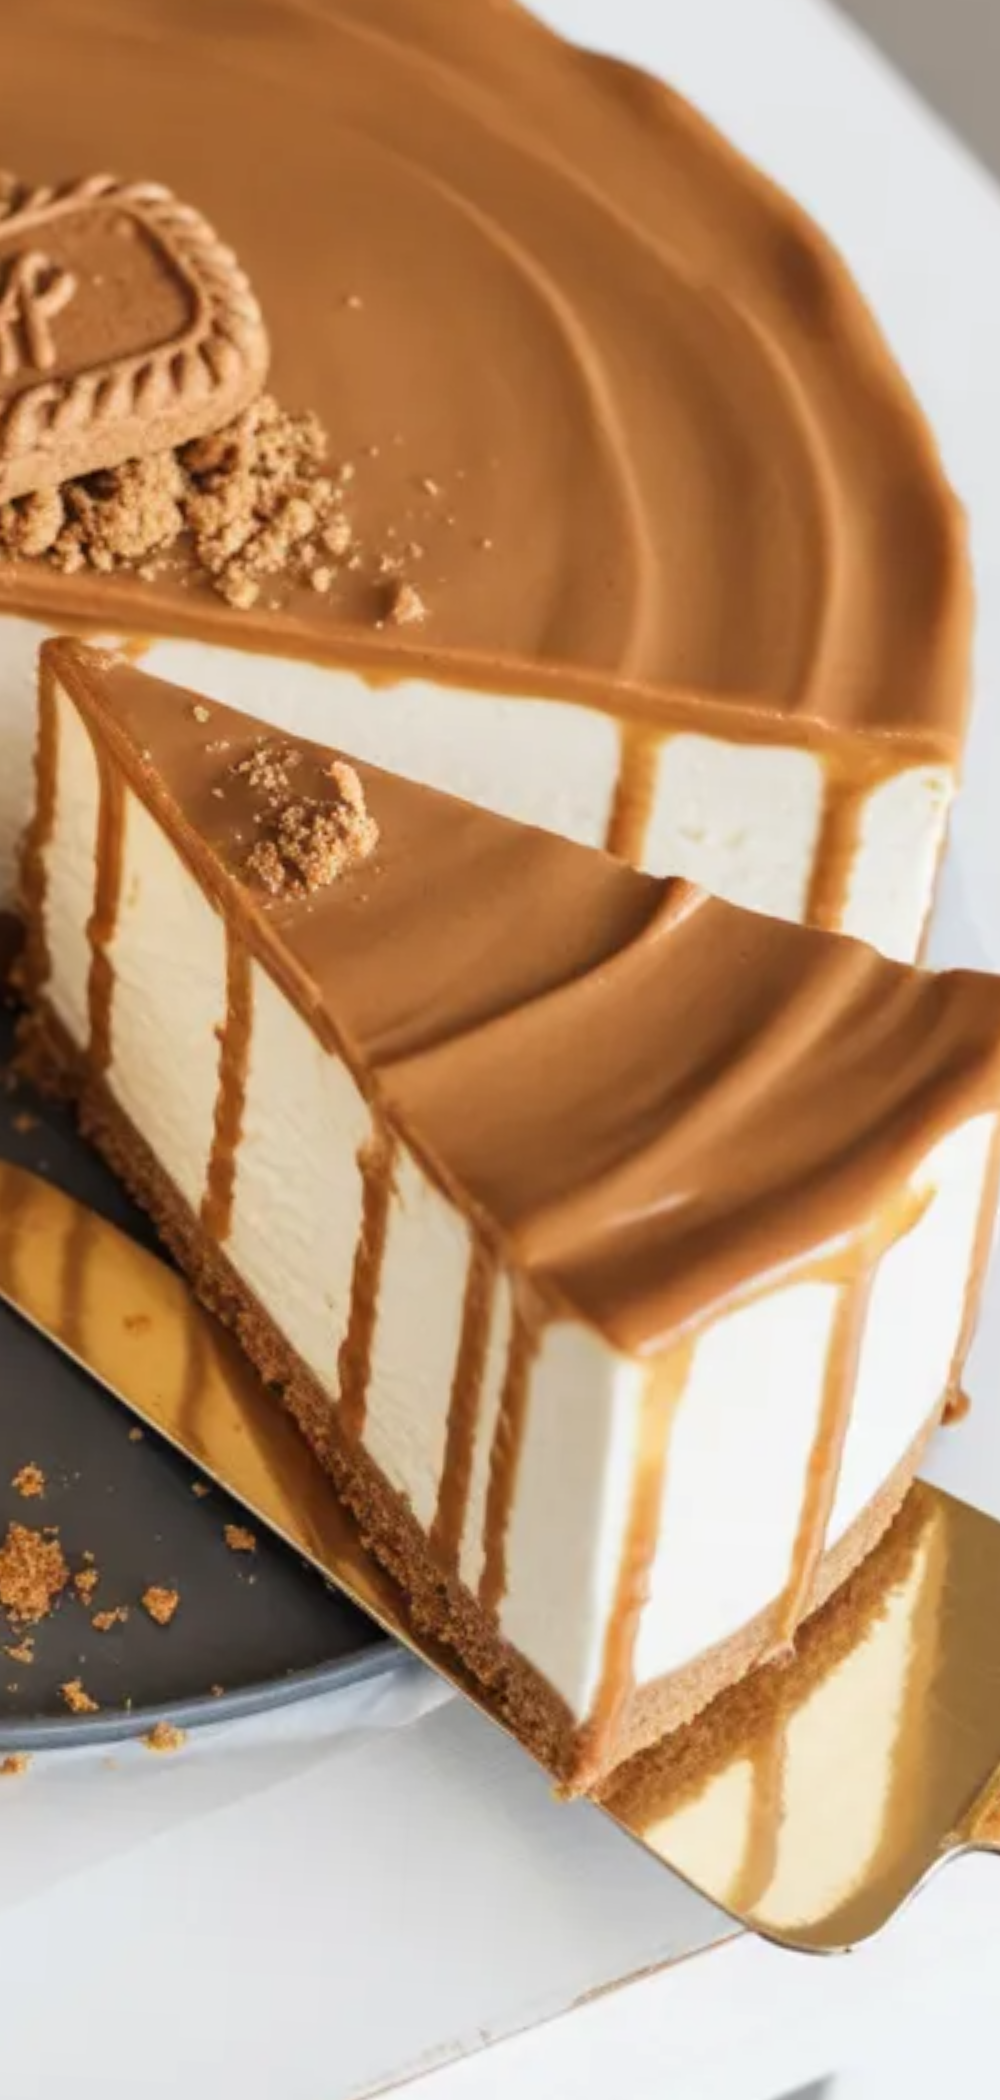
This cheesecake has a crunchy biscuit base, a fluffy, creamy filling, and that signature Biscoff taste in every bite. It looks fancy, tastes like a bakery dessert, but is actually very easy to make at home. Once you try it, you’ll want to make it again and again!
🍓 What to Eat with Biscoff Cheesecake
This cheesecake is already amazing, but pairing it with the right sides makes it even better. Fresh fruits like strawberries, raspberries, or banana slices add a fresh and juicy touch that balances the sweetness. You can also enjoy it with a hot drink like coffee, tea, or even a glass of cold milk.
If you want to make it extra special, drizzle some melted Biscoff spread on top or add whipped cream. A scoop of vanilla ice cream on the side also turns this into a next-level dessert 😍
🧾 Ingredients: for Biscoff Cheesecake
- 🍪 200g Biscoff biscuits
- 🧈 100g melted butter
- 🧀 400g cream cheese (softened)
- 🍯 200g Biscoff spread
- 🥛 200ml heavy cream
🥣 How to make Biscoff Cheesecake?
1️⃣ Prepare the crust
Crush the Biscoff biscuits into very fine crumbs using a food processor or by placing them in a plastic bag and crushing them with a rolling pin. Mix the crumbs with melted butter until the texture looks like wet sand.
2️⃣ Build the base
Press the biscuit mixture firmly into the bottom of a springform pan. Use the back of a spoon to make it flat and compact. Place it in the fridge for 20–30 minutes to set.
3️⃣ Make the filling
In a large bowl, mix the softened cream cheese until smooth and creamy. Take your time here to remove any lumps.
4️⃣ Add the Biscoff flavor
Add the Biscoff spread to the cream cheese and mix well until everything becomes smooth and fully combined.
5️⃣ Whip the cream
In a separate bowl, whip the heavy cream until soft peaks form. This means the cream should hold its shape but still be soft and fluffy.
6️⃣ Combine gently
Fold the whipped cream into the Biscoff mixture slowly and gently. Don’t mix too fast—you want to keep the mixture light and airy.
7️⃣ Assemble the cheesecake
Pour the filling over the chilled crust and smooth the top with a spatula. Tap the pan lightly on the counter to remove air bubbles.
8️⃣ Chill and set
Place the cheesecake in the fridge for at least 6 hours, but overnight is even better for the perfect texture.
9️⃣ Decorate and serve
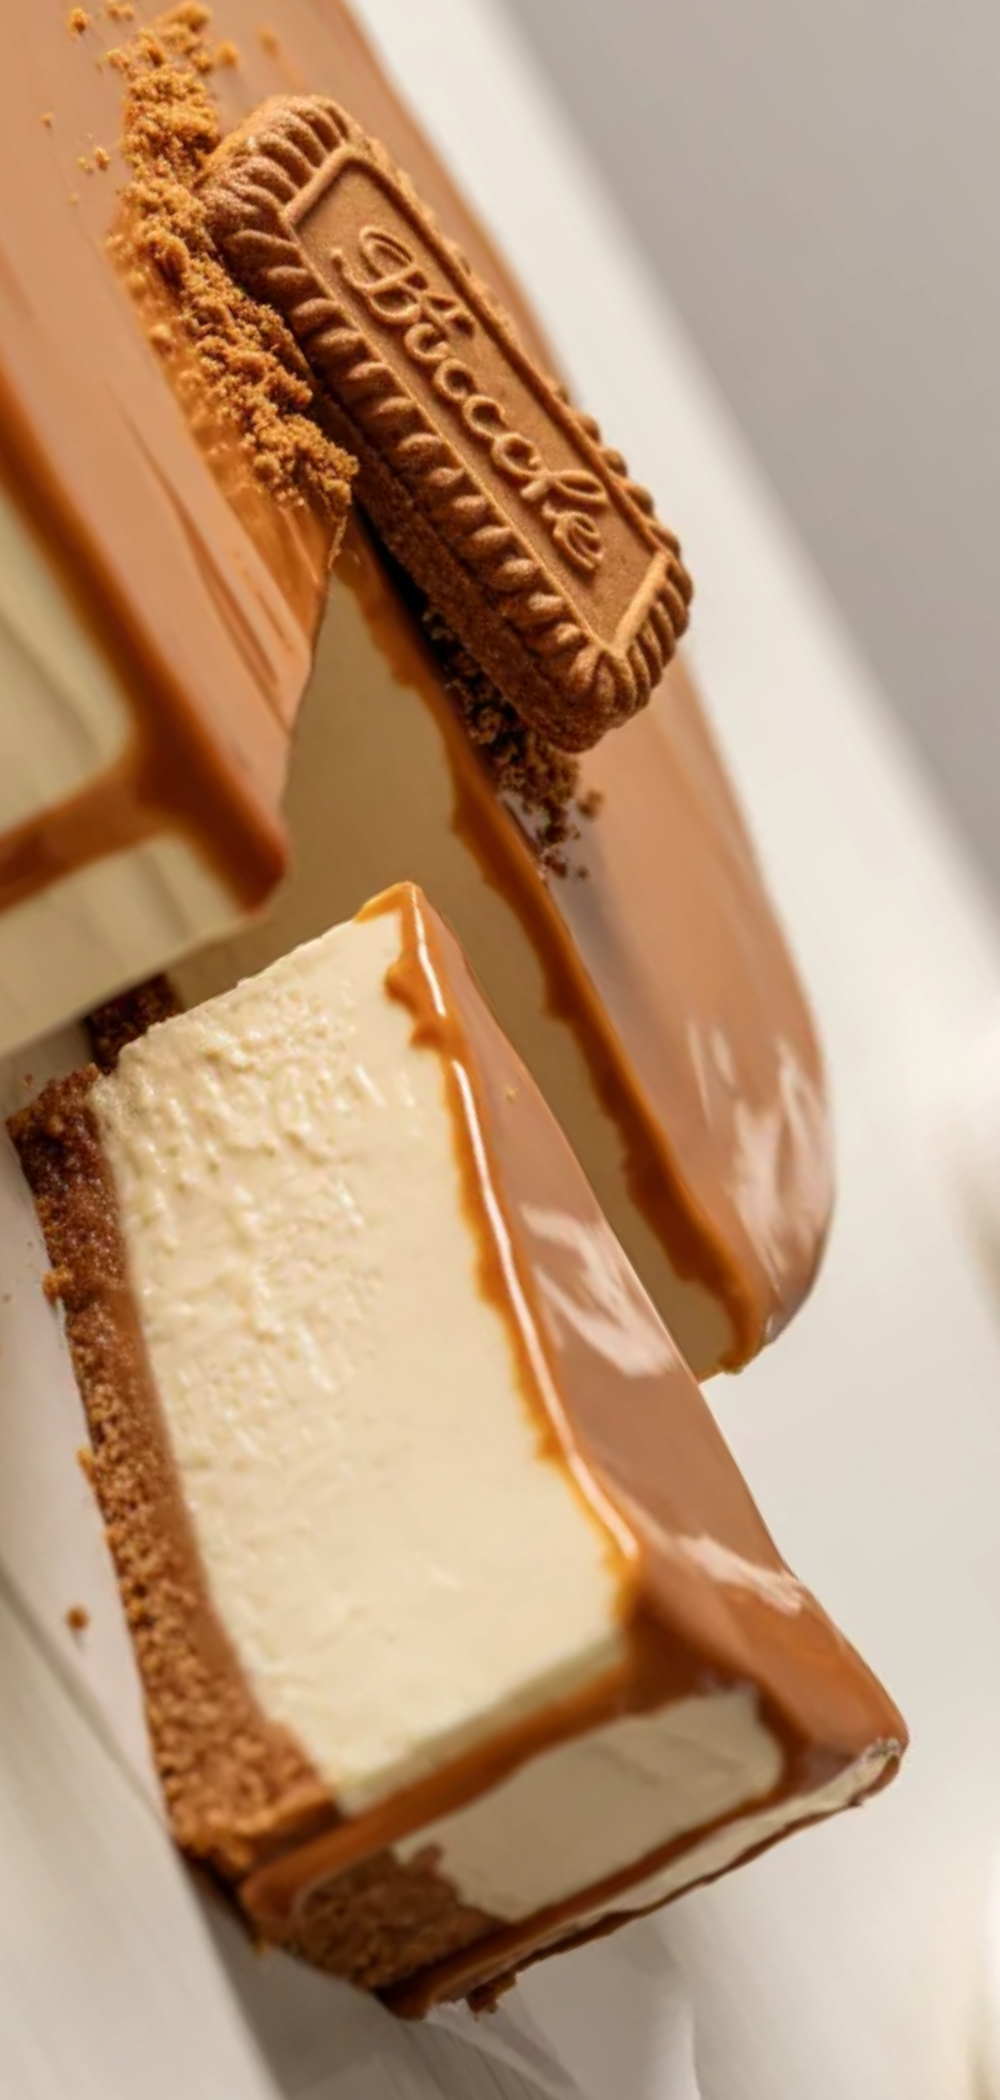
Before serving, spread melted Biscoff on top or sprinkle crushed biscuits for a beautiful finish ✨
🍴 Kitchen Equipment Needed
- 🥣 Mixing bowls
- ⚡ Electric mixer or whisk
- 🥄 Spatula
- 🍰 Springform pan
- 🔪 Food processor or rolling pin
- 📏 Measuring cups and spoons
📝 Notes
- Make sure the cream cheese is at room temperature to avoid lumps
- Don’t skip chilling time—this is what makes the cheesecake firm
- Fold the whipped cream gently to keep the texture light
- You can decorate with extra Biscoff, chocolate, or fruits
- Perfect dessert for parties, birthdays, or family gatherings 🎉
🧊 How to Store Leftovers?
Store your cheesecake in an airtight container in the fridge for up to 4 days.
To freeze:
Wrap slices individually in plastic wrap and store in a freezer-safe container. They can last up to 2 months.
To serve again, let it thaw in the fridge overnight.
❓ FAQs
❓ Can I make this without a mixer?
Yes! You can use a whisk and mix by hand. It just takes a bit more effort 💪
❓ Can I use other biscuits?
Yes, digestive biscuits or graham crackers work well, but Biscoff gives the best flavor.
❓ Is this really no-bake?
Yes! No oven needed at all 🙌
❓ Can I make it ahead of time?
Absolutely! It’s even better when made the day before.
❓ Why is my cheesecake not firm?
It probably needs more chilling time. Leave it longer in the fridge.
❓ Can kids make this recipe?
Yes! It’s simple and safe—just help them with mixing tools.
❓ Can I add toppings?
Of course! Try chocolate drizzle, fruits, or whipped cream 🍓🍫
❓ Can I double the recipe?
Yes, just use a bigger pan and double all ingredients.
🎉 Conclusion
This Biscoff Cheesecake {5 Ingredients} is the perfect easy dessert that looks impressive but is super simple to make. With its creamy texture, crunchy base, and rich caramel flavor, it’s guaranteed to be a hit every time.
If you loved this recipe, don’t forget to share it with your friends and family ❤️
And make sure to subscribe to the blog for more easy, trendy, and delicious recipes just like this! 🍰✨
Biscoff Cheesecake
Course: Dessert 🍰Cuisine: American / No-Bake Fusion 🇺🇸Difficulty: Easy ⭐Servings
8
servingsPrep time
20
minutesCooking time
66
hours40
minutesCalories
420
kcalIngredients
🍪 200g Biscoff biscuits
🧈 100g melted butter
🧀 400g cream cheese (softened)
🍯 200g Biscoff spread
🥛 200ml heavy cream
Directions
- Start by crushing the Biscoff biscuits into very fine crumbs. You can do this using a food processor or by placing them in a zip bag and crushing them with a rolling pin. Once crushed, mix the crumbs with melted butter until it looks like wet sand. Press this mixture firmly into the bottom of a springform pan to create the crust. Make sure it’s even and packed tightly, then place it in the fridge to chill while you prepare the filling.
- In a large bowl, add the softened cream cheese and mix it until smooth and creamy. This step is important because it helps avoid lumps in your cheesecake. Next, add the Biscoff spread and mix again until everything is fully combined and silky.
- In another bowl, whip the heavy cream until it forms soft peaks. This means when you lift the whisk, the cream should hold its shape but still be soft. Gently fold the whipped cream into the Biscoff mixture. Take your time with this step so you don’t lose the airiness—it helps make the cheesecake light and fluffy.
- Now pour the filling over the chilled crust and smooth the top with a spatula. Tap the pan gently on the counter to remove any air bubbles. Place the cheesecake in the fridge for at least 6 hours, or overnight if possible. This helps it set properly and makes slicing easier.
- Before serving, you can spread a thin layer of melted Biscoff on top or decorate with crushed biscuits for a pretty finish.
Notes
- Make sure the cream cheese is at room temperature to avoid lumps
Don’t skip chilling time—this is what makes the cheesecake firm
Fold the whipped cream gently to keep the texture light
You can decorate with extra Biscoff, chocolate, or fruits
Perfect dessert for parties, birthdays, or family gatherings 🎉