Craving more recipe inspo? Follow me on Pinterest for fresh ideas daily
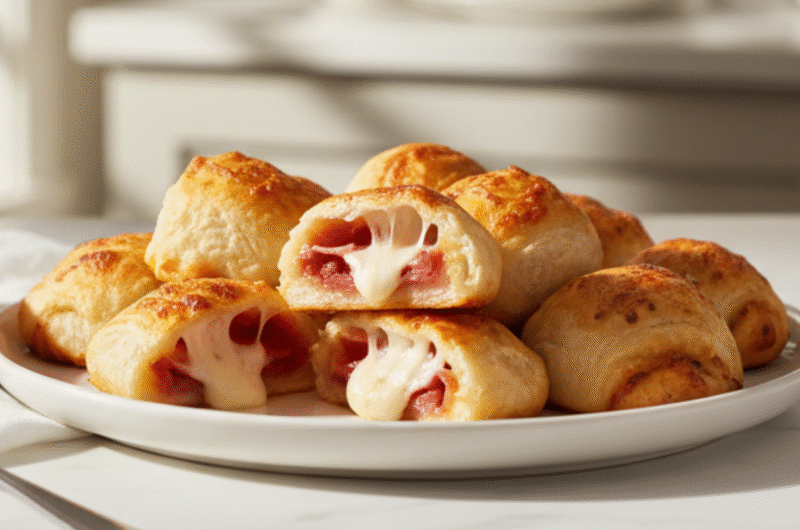
Grilled Cheese Roll Ups
Grilled Cheese Roll Ups
You know, food has this crazy way of bringing back memories and making moments feel special because the smell, the taste, and even the mess in the kitchen all matter. It reminds me of last summer when we went on a family trip and I decided to make Grilled Cheese Roll Ups for everyone while camping by the lake so we didn’t have a proper kitchen.
The first try was a disaster but it was funny too because the cheese oozed everywhere and I burnt the bread a little. Typical me yet everyone laughed and still devoured them even though they weren’t perfect. Have you ever tried making something and it didn’t go as planned but ended up surprisingly delicious anyway? That’s exactly what happened here so I knew I had to share this story and the recipe.
Grilled Cheese Roll Ups are simple but magical because kids love them and adults can’t resist either so it’s perfect for snacks, quick lunches, or even a fun holiday treat. It’s funny, isn’t it, how something as small as rolled bread and cheese can make everyone smile and gather around the table while sharing stories?
When I tried this recipe the first time and it actually turned out good, I was shocked and excited so I couldn’t stop thinking about how easy it is and how it can fit any occasion. Have you ever had that feeling when something so simple brings so much joy? That’s what makes this recipe special and worth trying.
What is Grilled Cheese Roll Ups?
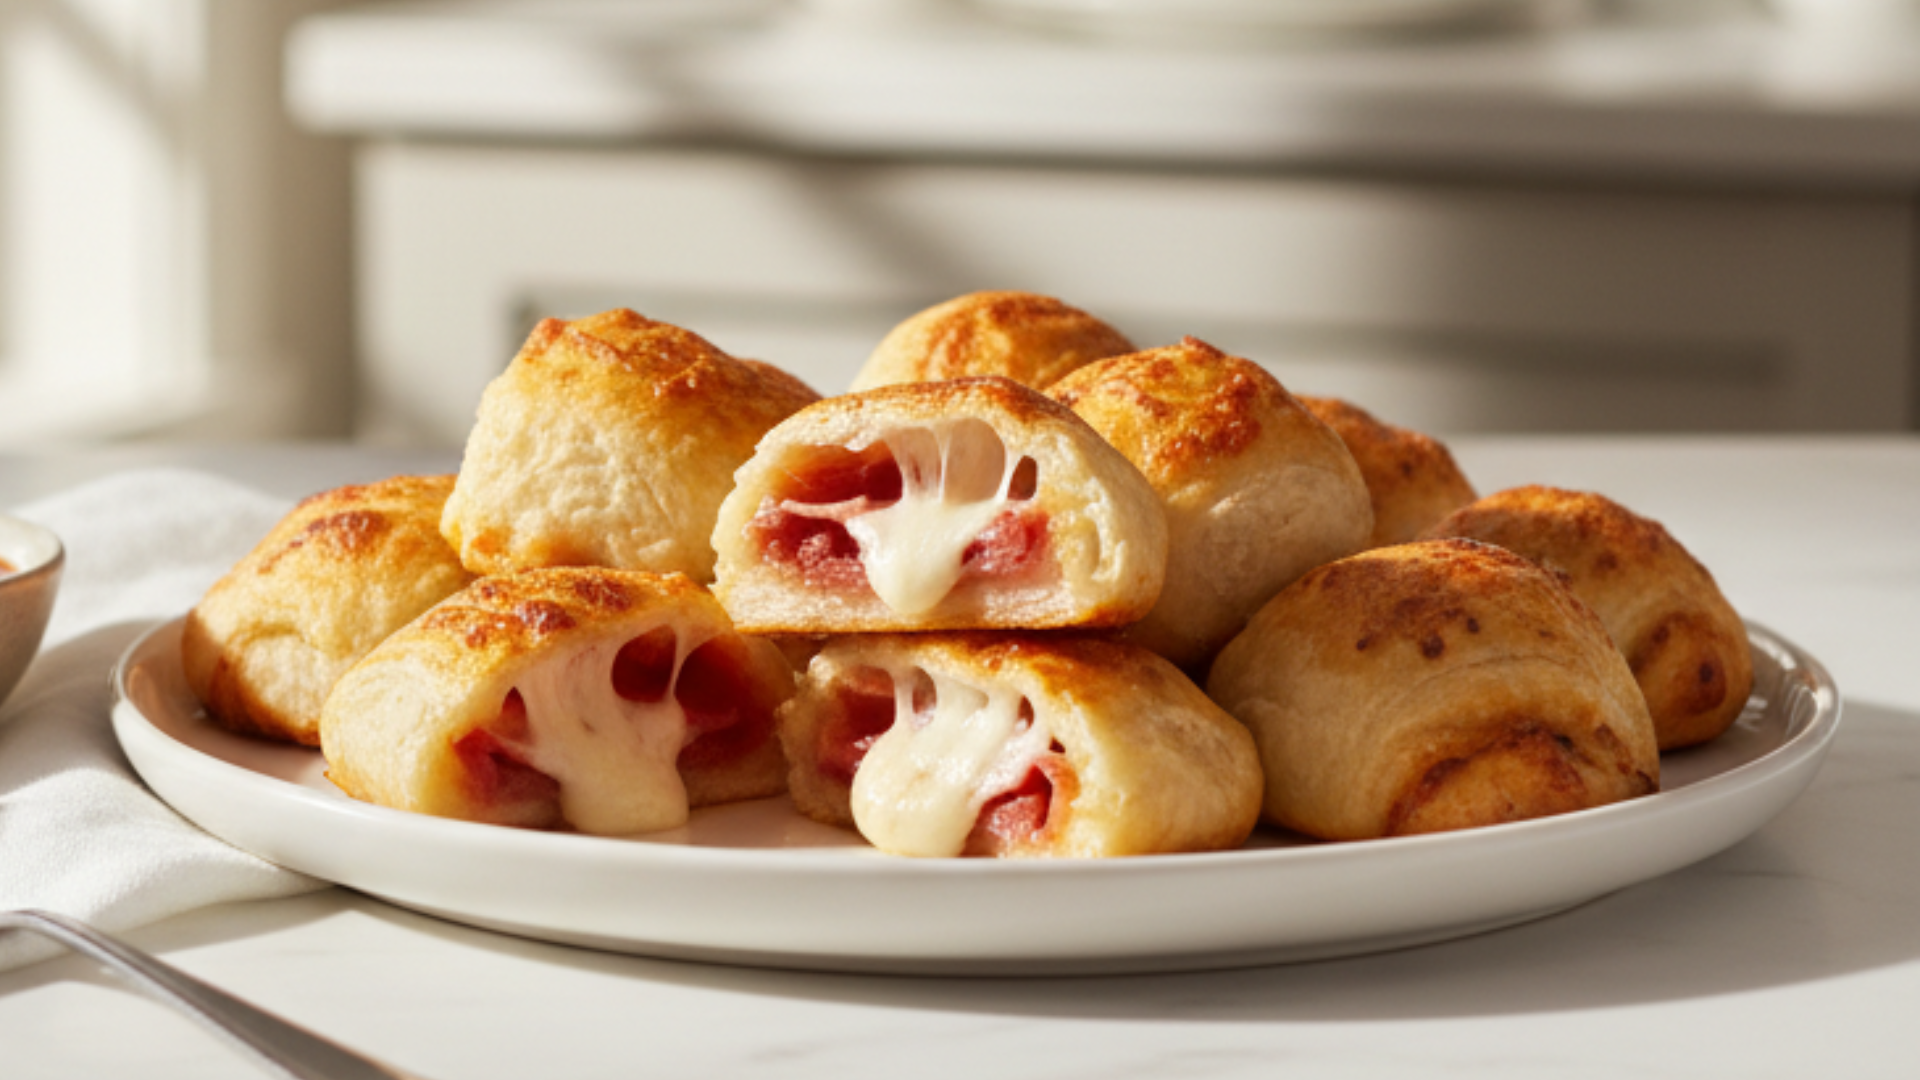
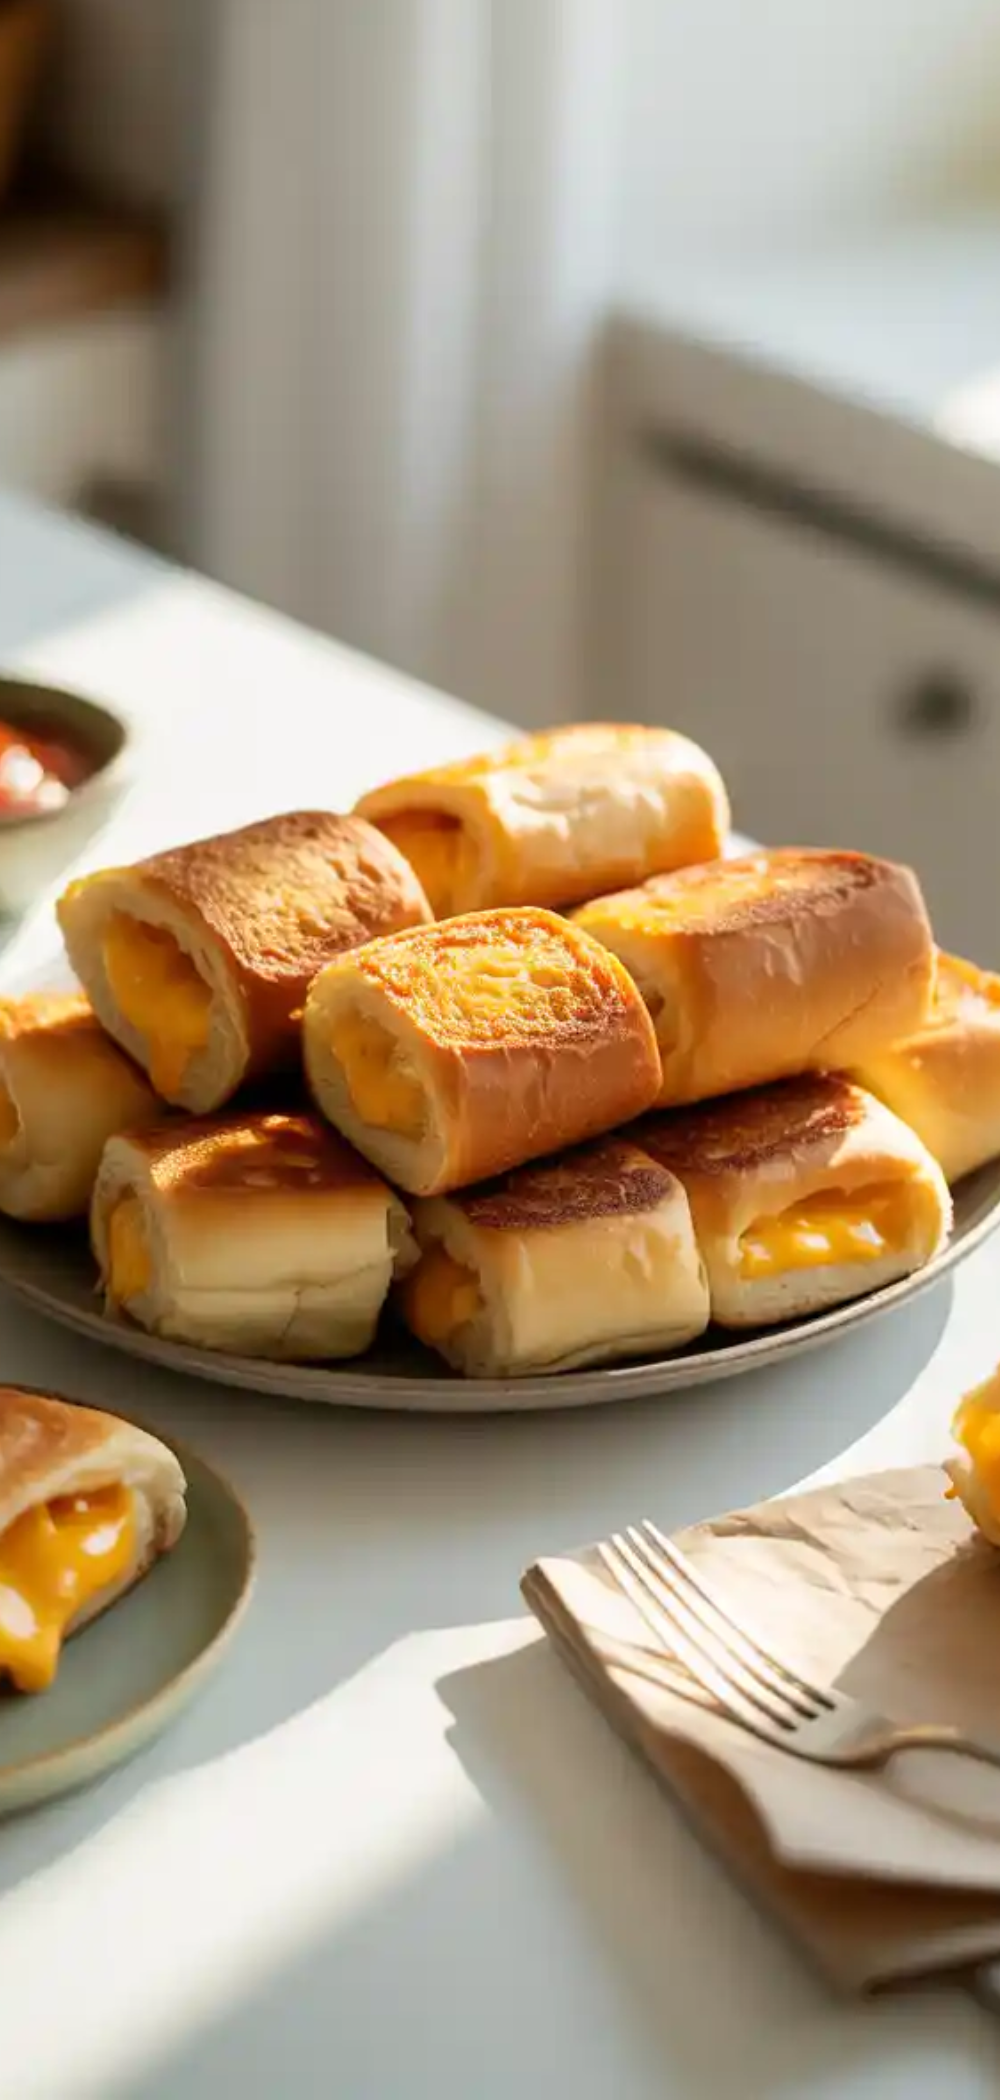
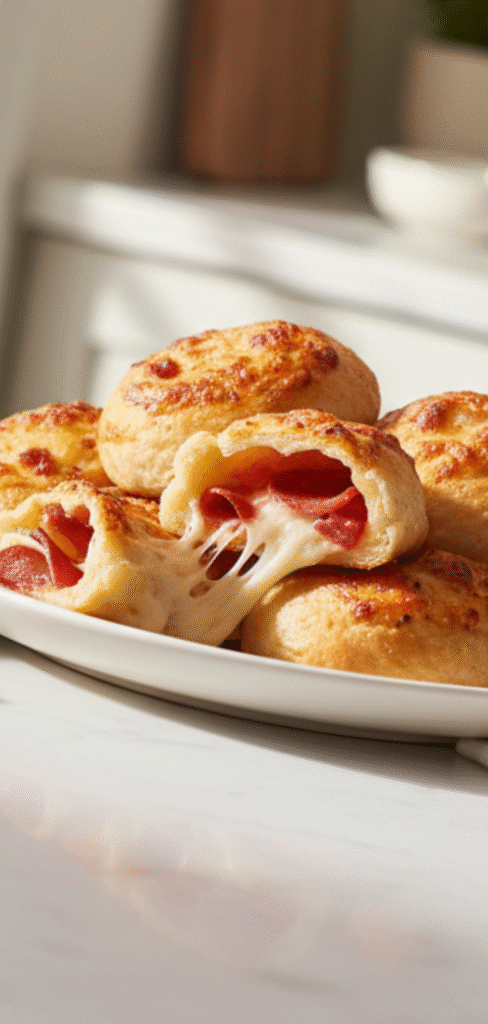
Grilled Cheese Roll Ups are a fun and delicious twist on the classic grilled cheese sandwich. Instead of keeping the bread flat, you roll it up with gooey cheese inside, making small, bite-sized rolls that are perfect for kids and adults alike. They cook quickly in a pan or oven and are crispy on the outside while soft and cheesy on the inside. This recipe is simple, quick, and perfect for a snack, lunch, or even a party appetizer.
What to Eat with Grilled Cheese Roll Ups?
Grilled Cheese Roll Ups go well with a variety of sides and dips. You can serve them with tomato soup for a comforting meal, or pair them with a fresh salad for a lighter option. Kids often love dipping them in ketchup, ranch dressing, or even marinara sauce. For a more adult twist, try serving them with a side of spicy mustard or a tangy cheese dip. They are versatile, so feel free to get creative and add your favorite sides to make a complete meal.
Ingredients For Grilled Cheese Roll Ups:
- 8 slices of sandwich bread
- 4 slices of cheddar cheese (or your favorite melting cheese)
- 2 tablespoons butter, softened
- Optional: garlic powder, paprika, or Italian seasoning for extra flavor
Kitchen Equipment Needed
- Rolling pin
- Knife or kitchen scissors
- Skillet or frying pan
- Spatula
- Plate lined with paper towels
- Small bowl for mixing butter and seasoning
How To Make Grilled Cheese Roll Ups?
- Start by flattening each slice of bread with a rolling pin. Make sure the bread is soft and easy to roll without tearing.
- Place a slice of cheese on each flattened bread slice. You can add extra toppings like ham, turkey, or veggies if you like.
- Carefully roll the bread around the cheese to form a tight roll. Pinch the edges slightly to keep the cheese from spilling out while cooking.
- Mix softened butter with a little garlic powder or your favorite seasoning in a small bowl.
- Heat a skillet over medium heat and add the butter mixture. Once the butter is melted and sizzling, place the rolls seam-side down in the pan.
- Cook the rolls for 2-3 minutes on each side or until golden brown and crispy. Use a spatula to turn them carefully so they don’t break.
- Remove the roll-ups from the skillet and place them on a plate lined with paper towels to absorb any extra butter.
- Let them cool for a minute before serving, then enjoy them warm and gooey.
How to Store Leftovers ?
If you have leftover Grilled Cheese Roll Ups, you can store them in an airtight container in the refrigerator for up to 3 days. To reheat, place them in a skillet over low heat until warm, or microwave for 20-30 seconds. Avoid storing them too long, as the bread can become soggy and the cheese may lose its meltiness.
FAQ
Can I use different types of cheese?
Yes! You can use mozzarella, provolone, Swiss, or any cheese that melts well. Mix and match for extra flavor.
Can I make these in the oven instead of a skillet?
Absolutely! Preheat your oven to 375°F (190°C), place the roll-ups on a baking sheet, and bake for 10-12 minutes until golden and crispy.
Can I freeze Grilled Cheese Roll Ups?
Yes, freeze them before cooking. Wrap each roll individually in plastic wrap and place in a freezer-safe bag. Cook from frozen, adding a few extra minutes to the cooking time.
Can I add other fillings?
Yes, you can add ham, turkey, bacon, or even veggies like spinach or bell peppers for variety.
Are these suitable for kids?
Definitely! They are easy to eat, cheesy, and fun to make. Kids can even help roll the bread.
How do I prevent the cheese from leaking?
Make sure to roll the bread tightly and pinch the edges to seal the cheese inside before cooking.
Can I use whole wheat or gluten-free bread?
Yes, both work, though gluten-free bread can be a little more fragile. Flatten it gently before rolling.
How long does it take to make this recipe?
It usually takes about 15-20 minutes from start to finish, making it a quick and easy snack or meal.
Conclusion.
Grilled Cheese Roll Ups are a simple, tasty, and fun recipe that the whole family can enjoy. They are perfect for lunch, snack time, or even as a party appetizer. Don’t forget to experiment with different cheeses and fillings to make them your own. Share this recipe with your friends and family, and make sure to subscribe to the blog for more easy and delicious recipes.
Grilled Cheese Roll Ups
Course: Snack / Lunch / AppetizerCuisine: AmericanDifficulty: EasyServings
4
servingsPrep time
5
minutesCooking time
10
minutesCalories
250
kcal📝 Ingredients
🍞 8 slices of sandwich bread
🧀 4 slices of cheddar cheese (or any melting cheese)
🧈 2 tablespoons butter, softened
🧄✨ Optional: garlic powder, paprika, or Italian seasoning for extra flavor
Directions
- Flatten each slice of bread with a rolling pin until thin and easy to roll.
- Place a slice of cheese (or half a slice if large) on top of the flattened bread.
- Roll the bread tightly around the cheese to form a roll. Pinch edges so cheese doesn’t spill.
- Mix softened butter with garlic powder or seasoning in a small bowl.
- Heat a skillet over medium heat, add butter, and place roll-ups seam side down.
- Cook for 2–3 minutes per side until golden brown and crispy. Flip carefully with a spatula.
- Place cooked roll-ups on a plate lined with paper towels to absorb excess butter.
- Let cool for 1–2 minutes, then serve warm with your favorite dip.