Craving more recipe inspo? Follow me on Pinterest for fresh ideas daily
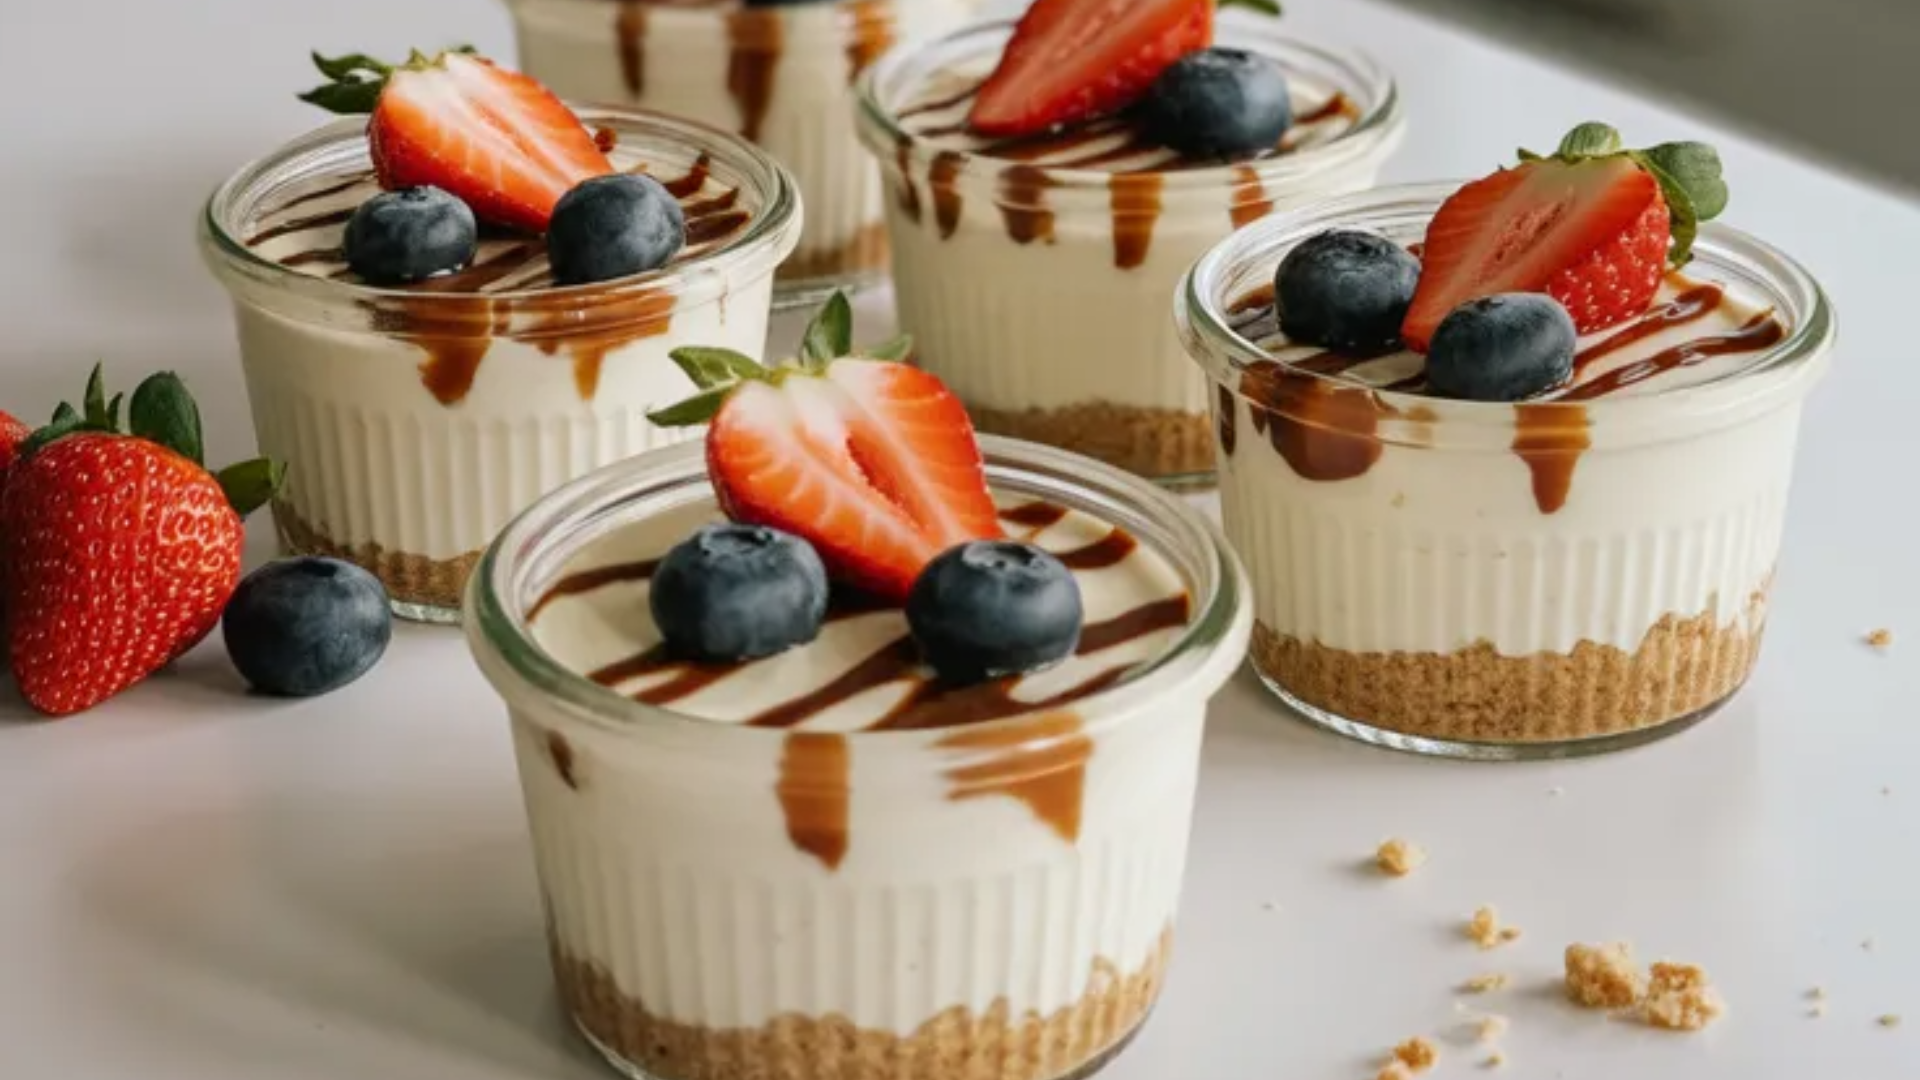
No-Bake Cheesecake Cups
It’s funny, right, how desserts can bring back memories, and suddenly you’re not just eating, you’re feeling something
Last summer, we went on a small family trip, and honestly, nothing was perfectly planned, but that’s what made it special because the kids were running around the kitchen, and I was trying to make something quick and sweet, and guess what, I almost messed it up the first time, typical me
So I remember opening the fridge and seeing cream cheese and thinking, okay, maybe I can make something easy and fun, and no oven, because it was way too hot, and have you ever had those moments where you mix things and hope for the best? Well, this was one of them
And when it actually worked, I was shocked, like really shocked, because it turned out creamy and sweet, and everyone loved it, even the picky ones, and that’s when these no-bake cheesecake cups became our little family favorite
So now every time I make them, it reminds me of that messy kitchen and the laughs and the chaos, and honestly, isn’t that what good food is about, not perfect but real and full of memories
Table of Contents
🍰 No-Bake Cheesecake Cups
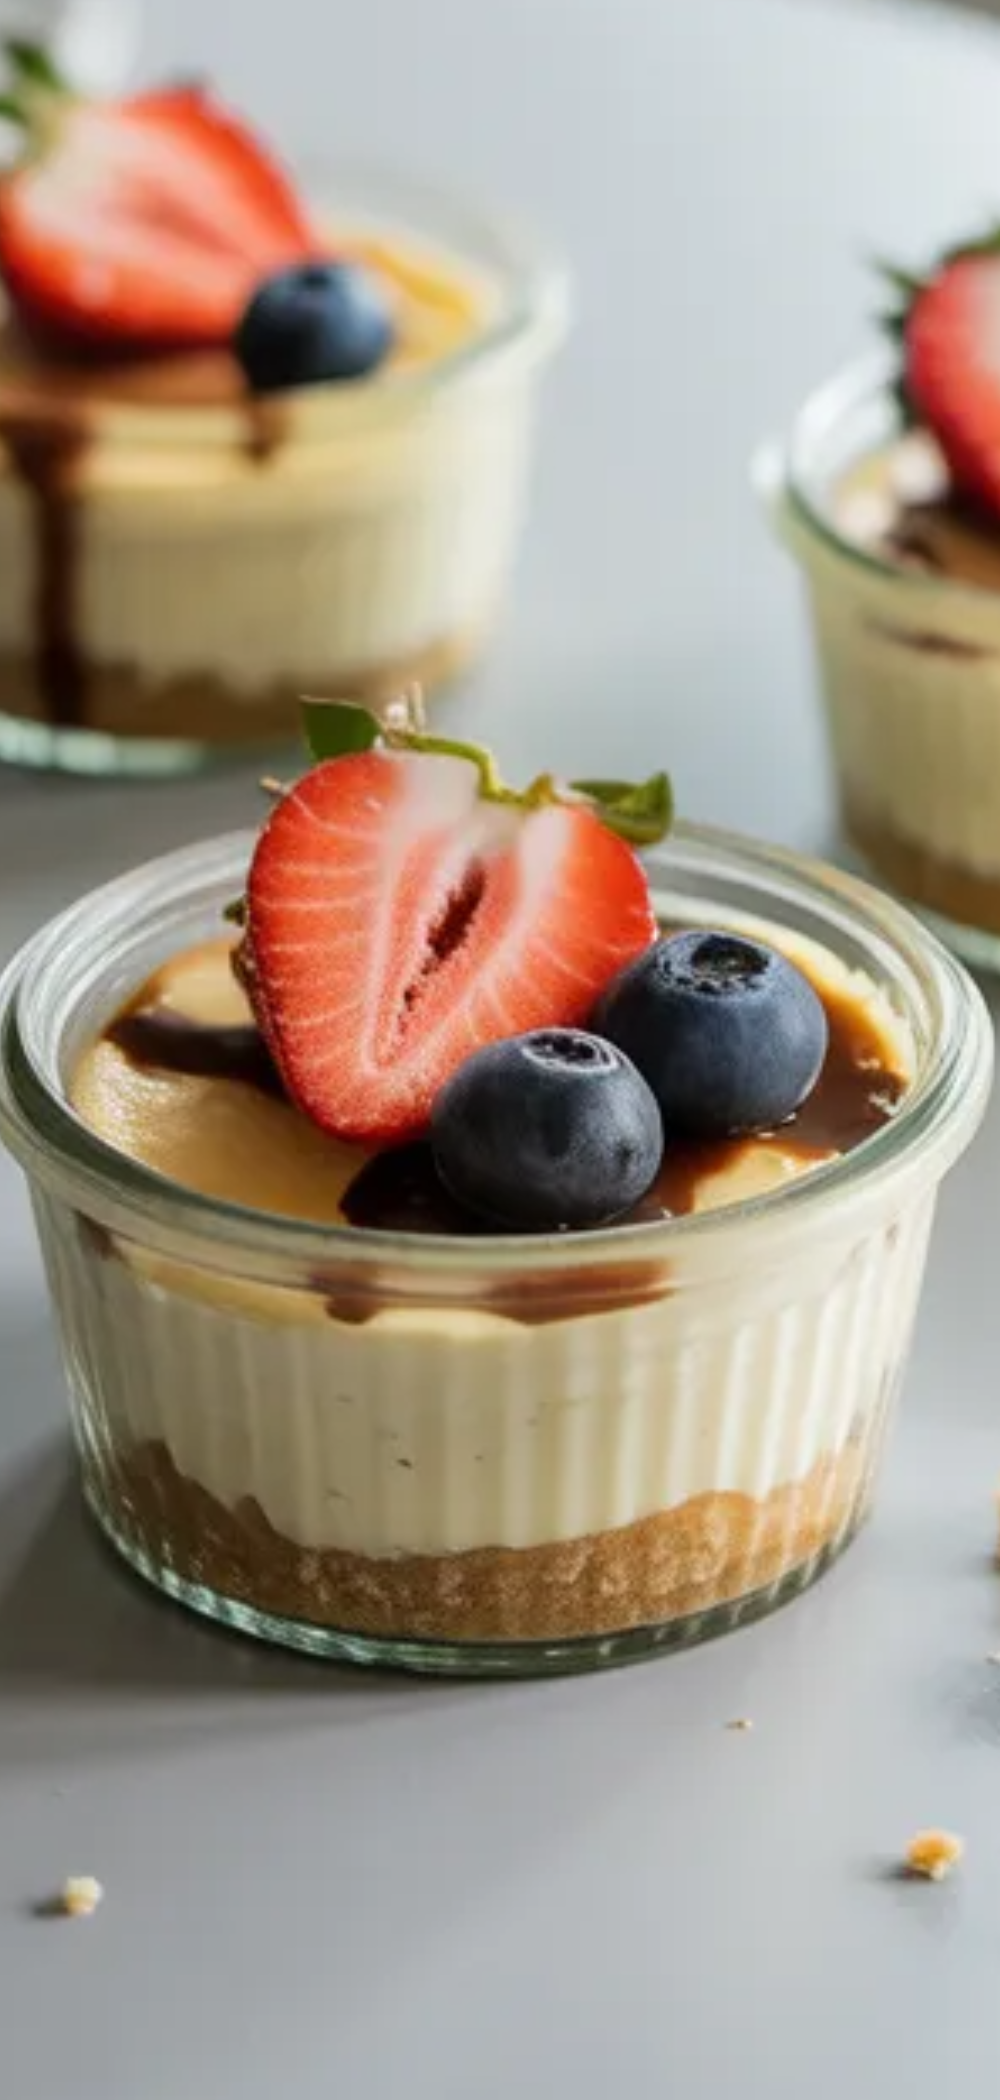
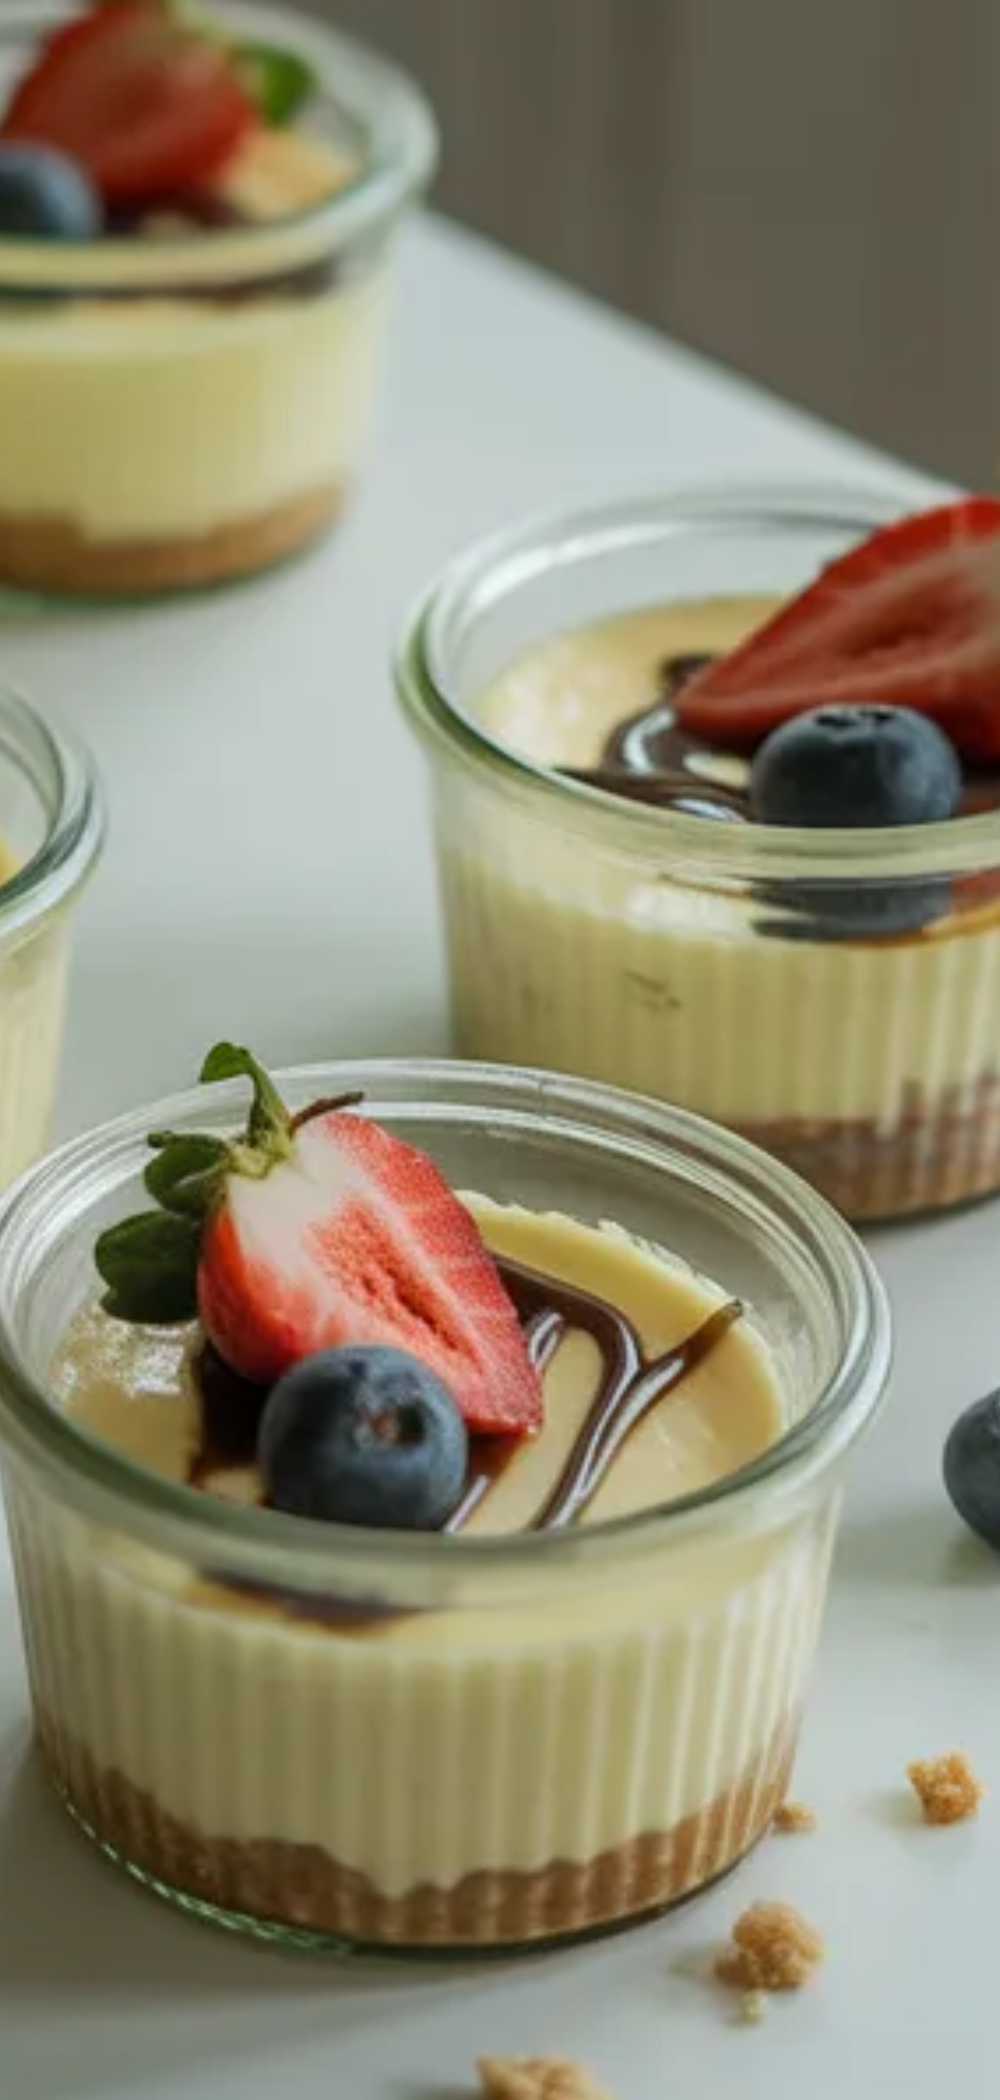
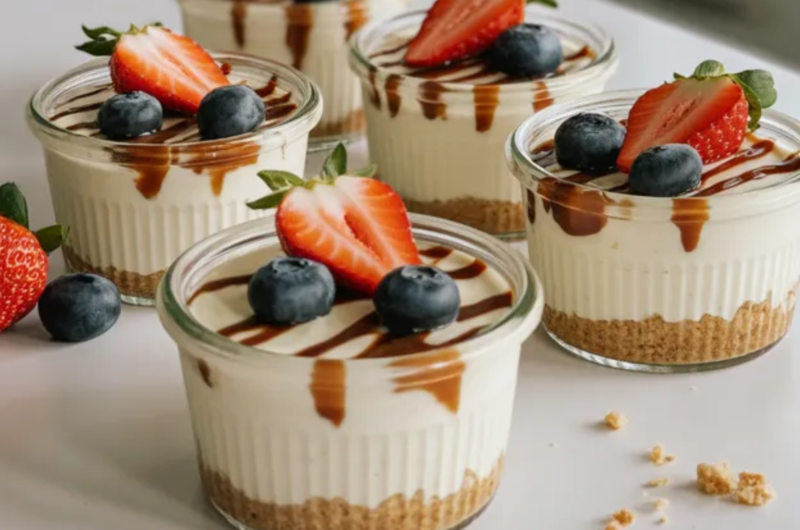
No-bake cheesecake cups are one of the easiest desserts you can ever make at home. There’s no oven, no complicated steps, and no stress. You simply mix a few creamy ingredients, layer them with a buttery cookie base, and let the fridge do all the work. The result is a smooth, rich, and slightly tangy dessert that feels fancy but is actually super simple—even a 10-year-old can make it.
🍓 What to Eat with No-Bake Cheesecake Cups
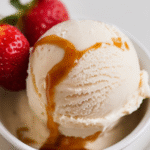
These cheesecake cups are already delicious, but you can take them to the next level with fun toppings and sides. Fresh fruits like strawberries, blueberries, or bananas add a juicy and refreshing taste. You can also drizzle chocolate or caramel sauce for extra sweetness. If you want to make it more special, serve them with whipped cream or even a scoop of vanilla ice cream. They also pair perfectly with tea, coffee, or hot chocolate for a cozy dessert moment.
🛒 INGREDIENTS: for No-Bake Cheesecake Cups
🥐 For the crust:
- 1 cup crushed digestive biscuits or graham crackers
- 4 tablespoons melted butter
🍦 For the cheesecake filling:
- 1 cup cream cheese (softened)
- 1/2 cup heavy whipping cream
- 1/3 cup sugar
- 1 teaspoon vanilla extract
🍓 For topping (optional):
- Fresh fruits (strawberries, blueberries, etc.)
- Chocolate sauce 🍫
- Caramel sauce
- Crushed cookies or nuts
👩🍳 How to make No-Bake Cheesecake Cups?
🥄 Step 1: Prepare the crust
In a bowl, mix the crushed biscuits with melted butter. Stir well until the mixture looks like wet sand. This helps the crust hold together nicely.
🥄 Step 2: Build the base
Spoon the crumb mixture into your cups or jars. Press it down gently using the back of a spoon to form a firm base. Set aside.
🥄 Step 3: Mix the cream cheese
In another bowl, add the softened cream cheese. Beat it using a whisk or mixer until it becomes smooth and creamy with no lumps.
🥄 Step 4: Add sugar and vanilla
Add sugar and vanilla extract to the cream cheese. Mix again until everything is fully combined and silky.
🥄 Step 5: Whip the cream
In a separate bowl, whip the heavy cream until soft peaks form. This means it holds its shape but is still soft and fluffy.
🥄 Step 6: Combine gently
Slowly fold the whipped cream into the cream cheese mixture. Do this gently so the mixture stays light and airy.
🥄 Step 7: Assemble the cups
Spoon the cheesecake filling over the crust layer in each cup. Smooth the tops with a spoon or spatula.
🥄 Step 8: Chill time ❄️
Place the cups in the refrigerator for at least 2–3 hours. This step is very important so the cheesecake sets properly.
🥄 Step 9: Add toppings 🎉
Before serving, decorate with fruits, chocolate drizzle, or crushed cookies. Get creative!
🍴 Kitchen Equipment Needed
- Mixing bowls 🥣
- Hand mixer or whisk
- Spoon or spatula
- Measuring cups and spoons
- Serving cups or jars
- Refrigerator ❄️
💡 Notes and Helpful Tips
- Always use softened cream cheese to avoid lumps.
- Do not overwhip the cream, or it will become too thick.
- Chill longer for a firmer texture.
- You can flavor it with lemon 🍋 or cocoa 🍫 for different versions.
- Perfect make-ahead dessert for parties 🎉
- Let kids help—it’s a fun and safe recipe!
🧊 How to Store Leftovers?
Store your cheesecake cups in the refrigerator, covered with plastic wrap or lids. They stay fresh for up to 3 days.
Avoid leaving them outside too long because they will soften.
Do not freeze ❌ because the texture may become watery after thawing.
❓ FAQ
🤔 Can I make it without heavy cream?
Yes! You can use whipped topping instead. It will still taste great.
⏱️ How long should I chill it?
At least 2–3 hours, but overnight is even better.
🍪 Can I use different biscuits?
Of course! Any cookies you like will work.
👶 Is this recipe kid-friendly?
Yes! It’s perfect for kids since there’s no baking involved.
🥗 How can I make it healthier?
Use low-fat cream cheese and less sugar, and add fresh fruits.
🍰 Can I make it in one big dish?
Yes, just layer everything in a dish instead of cups.
🍫 What toppings are best?
Chocolate, caramel, fruits, nuts—anything you love!
😕 Why didn’t my cheesecake set?
It may need more chilling time, or the cream wasn’t whipped enough.
🎉 Conclusion.
No-bake cheesecake cups are the perfect dessert when you want something quick, easy, and delicious. They look beautiful, taste amazing, and can be customized in so many fun ways. Whether you’re making them for family, guests, or just yourself, they are always a win.
If you liked this recipe, share it with your friends and family 💕 and don’t forget to subscribe to the blog for more fun, easy, and trendy recipes just like this one!
No-Bake Cheesecake Cups
Course: Dessert 🍰Cuisine: AmericanDifficulty: EasyServings
4–6
servingsPrep time
15
minutesCooking time
00
minutesCalories
280
kcal🛒 INGREDIENTS:
🥐 For the crust:
1 cup crushed digestive biscuits or graham crackers
4 tablespoons melted butter
🍦 For the cheesecake filling:
1 cup cream cheese (softened)
1/2 cup heavy whipping cream
1/3 cup sugar
1 teaspoon vanilla extract
🍓 For topping (optional):
Fresh fruits (strawberries, blueberries, etc.)
Chocolate sauce 🍫
Caramel sauce
Crushed cookies or nuts
Directions
- Start by preparing the crust. Take your crushed biscuits or graham crackers and mix them with melted butter in a bowl. Stir until the crumbs look like wet sand. Then, spoon a layer of this mixture into the bottom of each cup and press it down gently using the back of a spoon. This will form a solid base for your cheesecake.
- Next, make the creamy filling. In a bowl, beat the cream cheese until it becomes smooth and soft. Add the sugar and vanilla extract, and mix again until everything is well combined. In another bowl, whip the heavy cream until it forms soft peaks. Then gently fold the whipped cream into the cream cheese mixture. This step makes the cheesecake light and fluffy.
- Now it’s time to assemble your cups. Spoon the cheesecake filling over the crust layer in each cup. Smooth the top with a spoon or spatula. Once all cups are filled, place them in the refrigerator for at least 2 to 3 hours. This chilling time helps the cheesecake set and become firm.
- Before serving, add your favorite toppings. You can decorate each cup with fresh fruit, drizzle some chocolate sauce, or sprinkle crushed cookies on top. Serve cold and enjoy every creamy bite.
Notes
- Always use softened cream cheese to avoid lumps.
Do not overwhip the cream, or it will become too thick.
Chill longer for a firmer texture.
You can flavor it with lemon 🍋 or cocoa 🍫 for different versions.
Perfect make-ahead dessert for parties 🎉
Let kids help—it’s a fun and safe recipe!